How to implement Magic Link Authentication with Next.js and Altogic
This article will cover magic-link authentication basics using Next.js and Altogic, a backend-as-a-service platform using its client library.


How to implement Magic Link Authentication with Next.js and Altogic
Introduction
This article will cover magic-link authentication basics using Next.js and Altogic, a backend-as-a-service platform using its client library. This authentication method allows users to sign in to the application without remembering their password.
To reduce UX friction and avoid remembering multiple passwords, some small/medium and even large organizations are moving out from the password-based authentication flow to magic authentication, depending on their risk appetite.
You can check out the source code and demo app.
Benefits
With the magic link authentication method, the user does not have to remember another password or enter it to access their account. So we can clearly understand that magic link authentication highly simplifies the login burden for users and provides a better user experience.
Disadvantages
For that authentication method, the primary condition is that the link needs to be safe and can not be able to manipulated from outside of the application. And the links should have to be used for just a few minutes and only once. So except for these conditions, a passwordless authentication seems safer than one with a password.
💡 If you know any other disadvantages that you discover or faced before, please write in the comments section, we would love to discuss and learn.
How is the magic link authentication flow in Altogic?
Users who already have an account enter their email and click the “Send magic link” button.
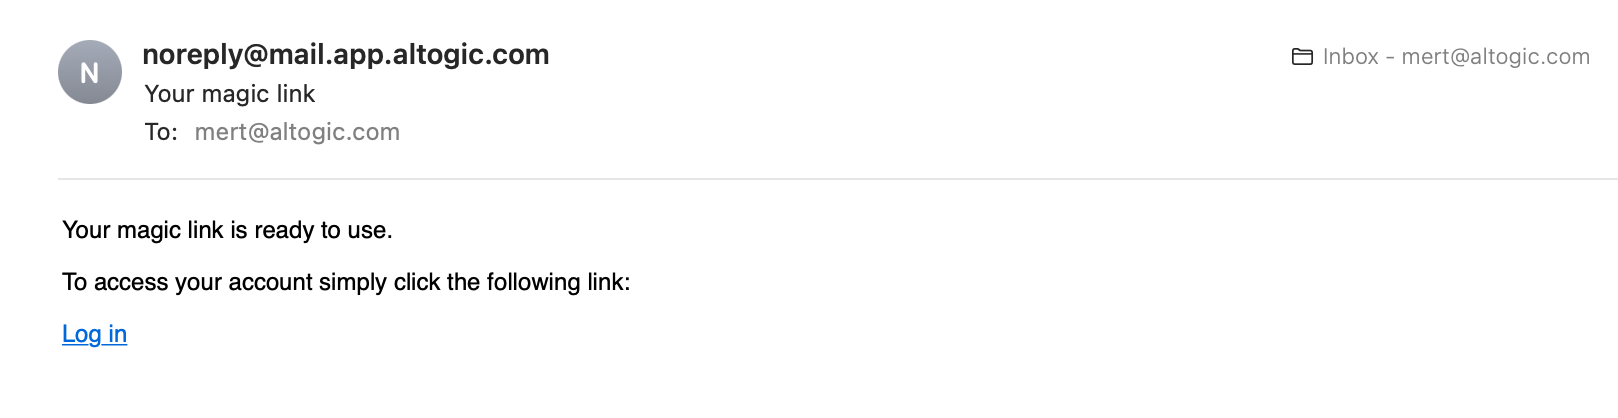
An email with the magic link is sent to the specified email address by Altogic.
Users click on the link in the sent email.
Altogic redirects users to specified “Redirect URL” with an access token in the query string parameter.
This access token is used to get a session token, and users are directed to their profile page.
Youtube Promo Video
You can check out the video below to see a live demonstration of our app.
Set up the project
This project builds on top of the complete e-mail authentication app we created previously. You can follow the tutorial to build the same app or clone the project from here and continue with the rest of the tutorial.
Let’s start coding!
We already have the backend and frontend of the email authentication now. We can start implementing the magic link functionality.
Set up the magic link page
We need a page where we get the email input from the user.
Using the “altogic.auth.sendMagicLinkEmail(email)” we can send magic link mail to the specified email.
Here is the source code of the /auth/send-magic-link page:
import { useState, useRef, useEffect } from "react";
import { altogic } from "../../helpers/client";
import ErrorMessage from "../../components/ui/ErrorMessage";
import CustomButton from "../../components/ui/Button";
import { FontAwesomeIcon } from "@fortawesome/react-fontawesome";
import { faEnvelopeCircleCheck } from "@fortawesome/free-solid-svg-icons";
import { checkCookies } from "cookies-next";

function SendMagicLink() {
  const emailInputElement = useRef();
  const [message, setMessage] = useState("");
  const [loading, setLoading] = useState(false);
  const [emailSent, setEmailSent] = useState(false);

  async function sendMagicLinkHandler() {
    setLoading(true);
    try {
      let email = emailInputElement.current.value;
      // Send the magic link email to specified email.
      const { errors } = await altogic.auth.sendMagicLinkEmail(email);
      if (errors) {
        setMessage(errors.items[0].message);
      } else {
        setEmailSent(true);
        setMessage("");
      }
    } catch (error) {
      setMessage(error.message.toString());
    }
    setLoading(false);
  }

  return (
    <div className=" min-h-full flex items-center justify-center py-12 px-4 sm:px-6 lg:px-8 ">
      <div className="max-w-md w-full space-y-8">
        <div className="my-6 ">
          {emailSent ? (
            <>
              <FontAwesomeIcon
                className="flex items-center justify-center mx-auto"
                icon={faEnvelopeCircleCheck}
                size={"5x"}
                color="green"
              />
              <p className="text-xl text-center font-semibold leading-6 ">
                Magic link is sent to your email. You need to click the link to
                sign-in.
              </p>
            </>
          ) : (
            <div className="mt-6">
              <label
                htmlFor="email"
                className="block text-sm font-medium text-slate-700"
              >
                Your email
              </label>
              <div className="mt-1">
                <input
                  ref={emailInputElement}
                  type="email"
                  name="email"
                  id="email"
                  placeholder="example@example.com"
                  className="px-3 py-2 bg-white border shadow-sm border-slate-300 placeholder-slate-400 disabled:bg-slate-50 disabled:text-slate-500 disabled:border-slate-200 focus:outline-none focus:border-indigo-500 focus:ring-indigo-500  w-full rounded-md sm:text-sm focus:ring-1 invalid:border-red-500 invalid:text-red-600 focus:invalid:border-red-500 focus:invalid:ring-red-500 disabled:shadow-none"
                />
              </div>
              <div className="mt-6 text-center">
                <ErrorMessage message={message}></ErrorMessage>
                <CustomButton
                  loading={loading}
                  buttonValue={"Send the magic link"}
                  onClick={sendMagicLinkHandler}
                />
              </div>
            </div>
          )}
        </div>
      </div>
    </div>
  );
}

export async function getServerSideProps({ req, res }) {
  // If user is already signed in, redirect them to profile.
  if (checkCookies("token", { req, res })) {
    return {
      redirect: { destination: "/profile", permanent: false },
    };
  } else {
    return {
      props: {},
    };
  }
}

export default SendMagicLink;
In the end, your screen should look like this:
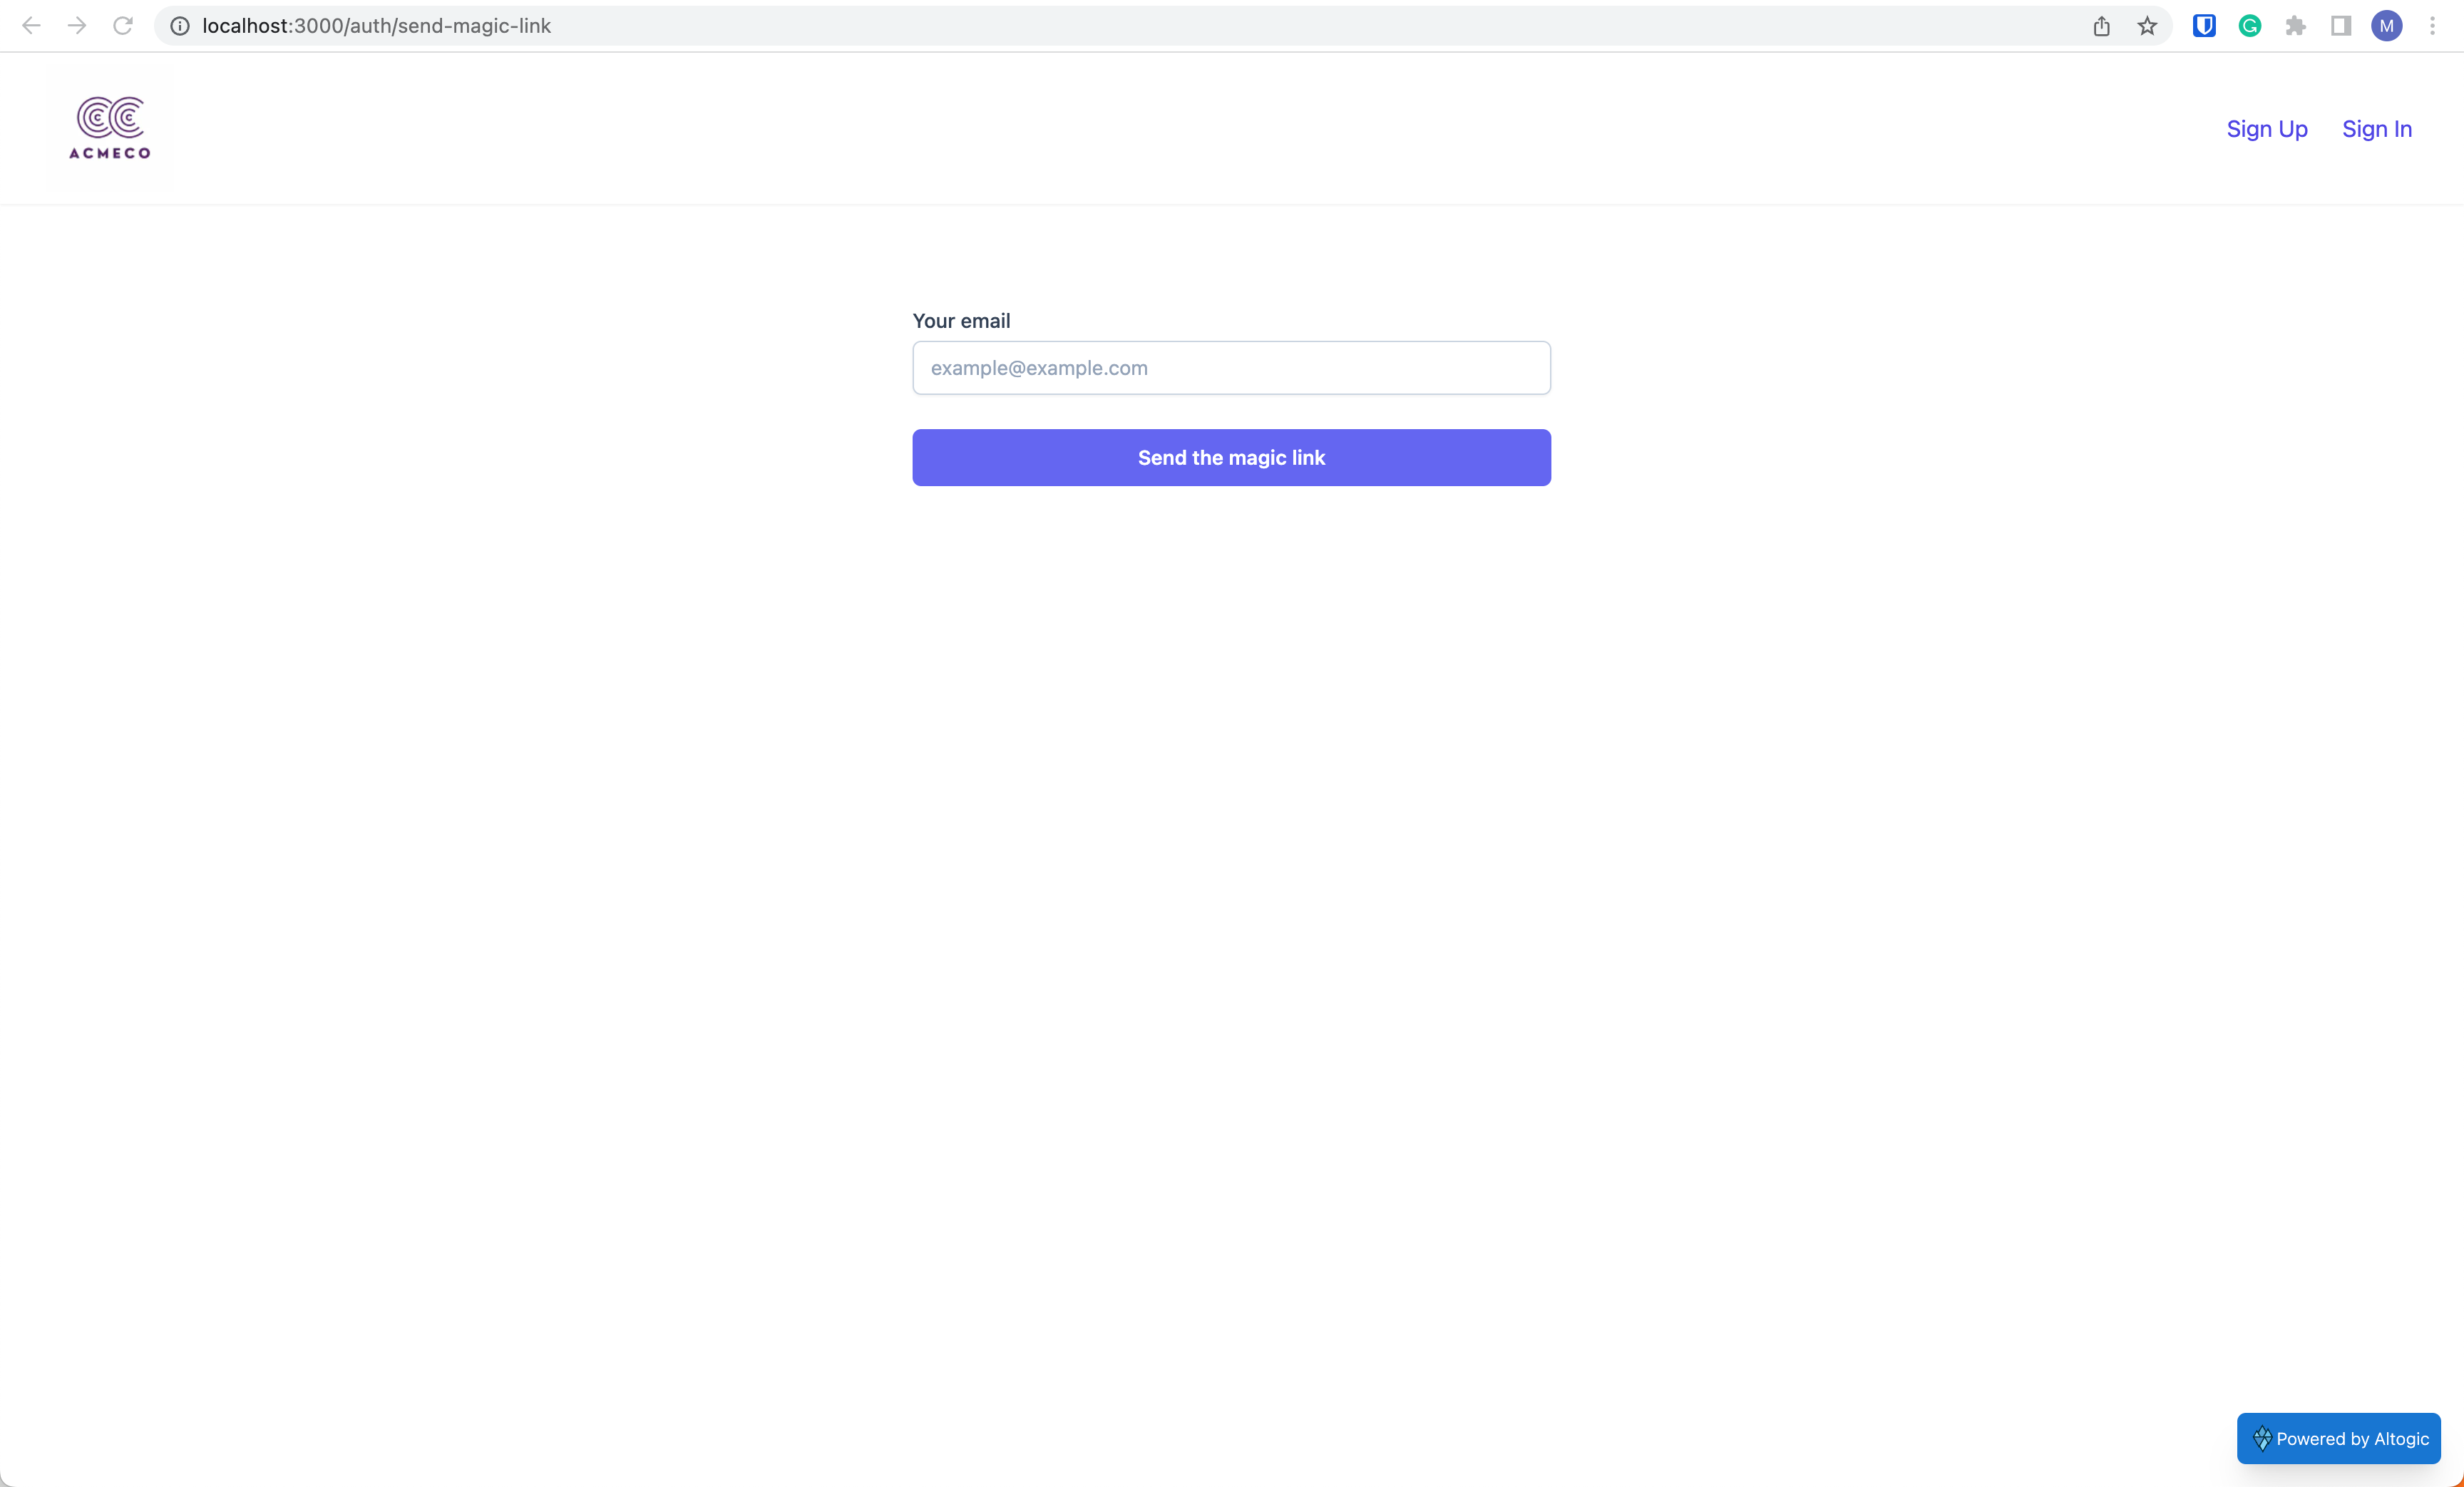
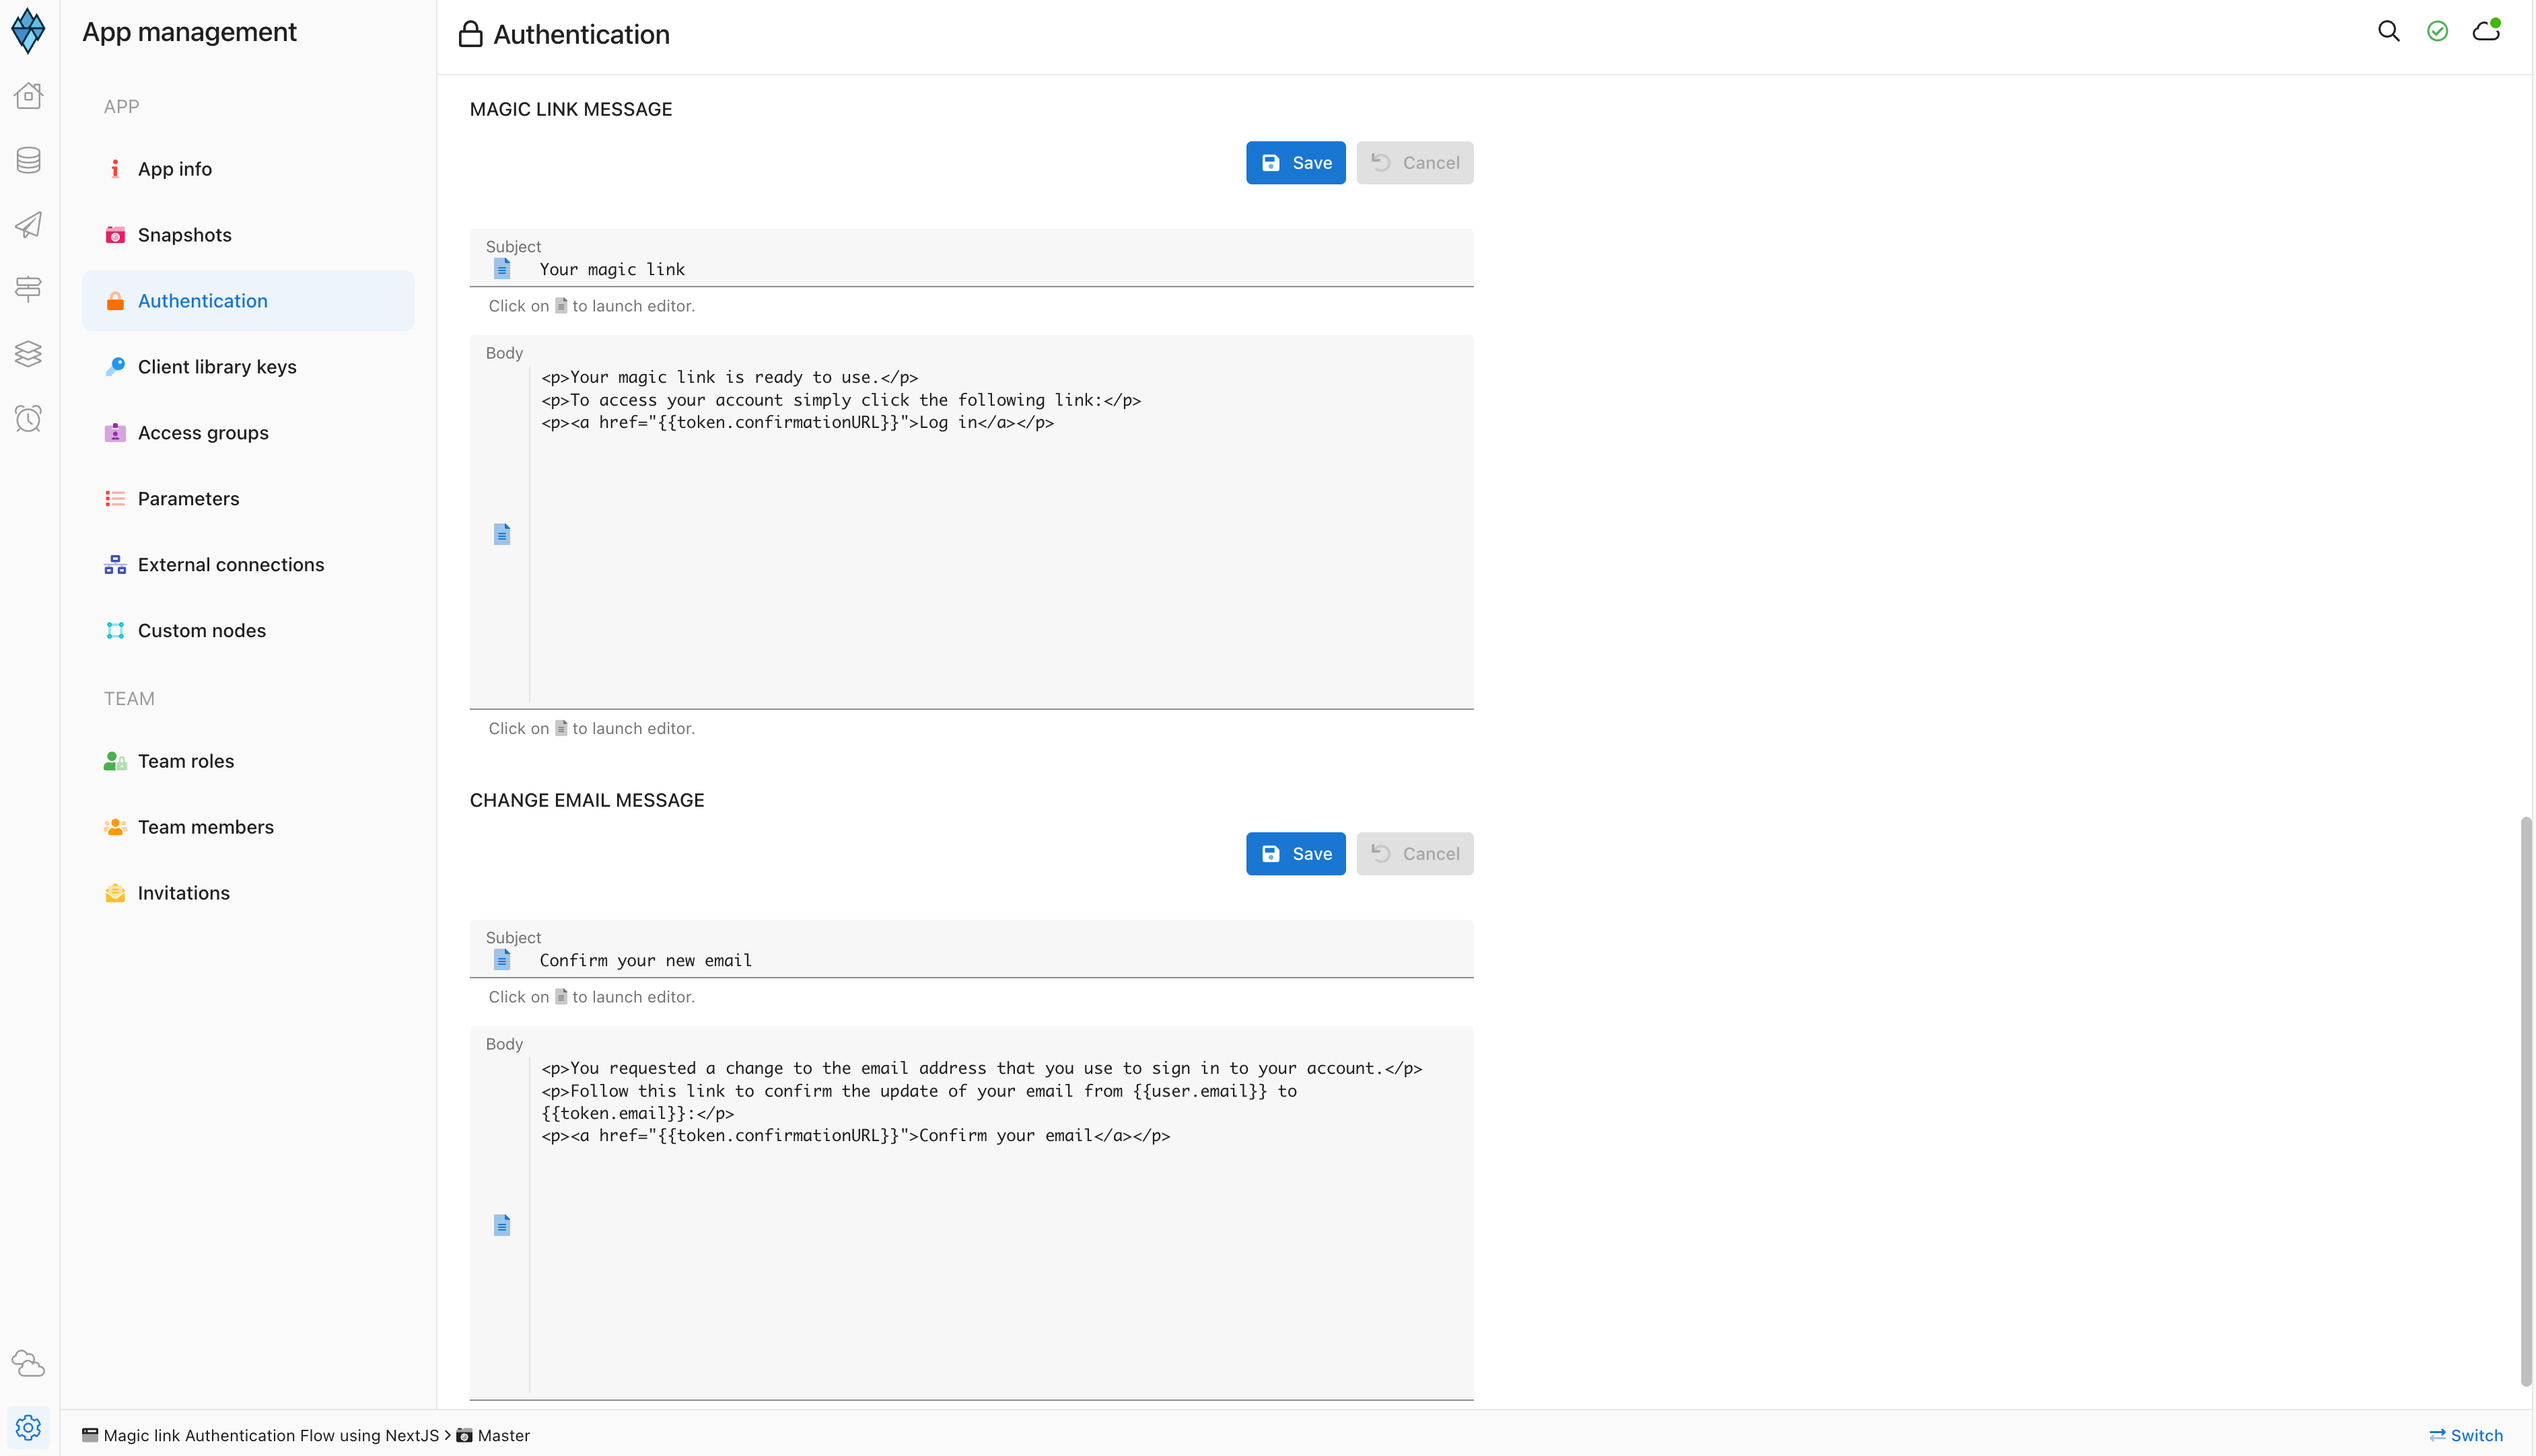
Magic Link Email
You can also change all of the message templates from the App settings → Authentication → Message templates view of Altogic Designer and use any HTML template you want.
Here is how to do that:
Now that we sent the email, users need to click on the link to sign in.
Redirect URL route
When users click on the link, Altogic redirects to our specified Redirect URL, which is /auth-redirect in this case.
Here in getServerSideProps, we check the query string parameters, and according to each action, we perform some actions. Here is an important part!
getAuthGrant() function either takes a session token as a parameter or uses the one in the URL.
Here, we run this code only on the server-side, so we must give the session token as the parameter.
import { useRouter } from "next/router";
import React from "react";
import { useEffect, useState, useContext } from "react";
import EmailConfirmResend from "../components/auth-redirect/EmailConfirmResend";
import MagicLinkResend from "../components/auth-redirect/MagicLinkResend";
import PasswordReset from "../components/auth-redirect/PasswordReset";
import { UserContext } from "../context/userContext";
import { altogic } from "../helpers/client";
import { FontAwesomeIcon } from "@fortawesome/react-fontawesome";
import { faSpinner } from "@fortawesome/free-solid-svg-icons";
import { checkCookies } from "cookies-next";

function AuthRedirect(props) {
  const [isLoading, setIsLoading] = useState(true);
  const [isResetScreen, setIsResetScreen] = useState(false);
  const [isMagicLinkScreen, setIsMagicLinkScreen] = useState(false);
  const router = useRouter();
  const context = useContext(UserContext);

  async function setNewUser() {
    //Set the user's new data in context and in local storage.
    const activeSession = altogic.auth.getSession();
    if (activeSession) {
      const newUserData = await altogic.auth.getUserFromDB();
      context.authStateChanged(activeSession, newUserData.user);
      router.push("/profile");
    } else {
      router.push("/auth/email-change-confirm");
    }
  }
  async function checkProps() {
    if (props.action == "email-confirm") {
      if (props.error) {
        //There is no valid token.
        setIsLoading(false);
      } else {
        //Send a request to /api/login route to set the cookie for SSR.
        //Only needed if you are going to do SSR.
        await fetch("/api/login", {
          method: "POST",
          credentials: "include",
          body: JSON.stringify({ token: props.session.token }),
          headers: { "Content-Type": "application/json" },
        });
        context.setIsAuth(true);
        //Email has been verified on the server side.
        context.authStateChanged(props.session, props.user);
        router.push("/profile");
      }
    } else if (props.action === "reset-pwd") {
      //Show the reset password screen.
      setIsResetScreen(true);
      setIsLoading(false);
    } else if (props.action === "change-email") {
      //Change email is successfull.
      setNewUser();
      return;
    } else if (props.action === "magic-link") {
      if (props.error) {
        setIsLoading(false);
        // Resend the magic link screen.
        setIsMagicLinkScreen(true);
      } else {
        //Send a request to /api/login route to set the cookie for SSR.
        //Only needed if you are going to do SSR.
        await fetch("/api/login", {
          method: "POST",
          credentials: "include",
          body: JSON.stringify({ token: props.session.token }),
          headers: { "Content-Type": "application/json" },
        });
        context.setIsAuth(true);
        context.authStateChanged(props.session, props.user);
        router.push("/profile");
      }
    }
  }

  useEffect(() => {
    checkProps();
    // eslint-disable-next-line react-hooks/exhaustive-deps
  }, []);

  return isLoading ? (
    //Email change confirm page. It confirms automatically.
    <FontAwesomeIcon
      className="flex items-center justify-center w-full max-w-md mx-auto my-20 overflow-hidden"
      icon={faSpinner}
      size={"3x"}
      spin
    />
  ) : (
    <div className=" min-h-full flex items-center justify-center py-12 px-4 sm:px-6 lg:px-8 ">
      <div className="max-w-md w-full space-y-8">
        {isMagicLinkScreen ? (
          //Magic link didn't work. Resending the magic link screen.
          <MagicLinkResend error={props.error}></MagicLinkResend>
        ) : !isResetScreen ? (
          //Email confirm page. If it can't confirm automatically, it shows a form where you can resend the email.
          <EmailConfirmResend error={props.error}></EmailConfirmResend>
        ) : (
          <PasswordReset
            access_token={props.access_token}
            error={props.error}
          ></PasswordReset>
        )}
      </div>
    </div>
  );
}

export async function getServerSideProps(context) {
  let req = context.req;
  let res = context.res;

  // context.query returns the query parameters in the url.
  // When Altogic redirects to auth-redirect, it also sends some values as query parameters.
  if (context.query.action === "reset-pwd") {
    if (context.query.status === "200") {
      //Token is valid, you can reset the password.
      return {
        props: {
          action: context.query.action,
          error: null,
          access_token: context.query.access_token,
        },
      };
    } else {
      return {
        props: {
          action: context.query.action,
          error: context.query.error,
        },
      };
    }
  } else if (context.query.action === "change-email") {
    return {
      props: {
        action: context.query.action,
        error: null,
      },
    };
  } else if (context.query.action === "magic-link") {
    if (checkCookies("token", { req, res })) {
      // Check if there is a token between the browser and the server.
      // Redirect to the profile page and check there if token belongs to this user or not.
      return {
        redirect: { destination: "/profile", permanent: false },
      };
    }
    if (context.query.status === "400") {
      //If token is invalid, return the error message in the URL.
      return {
        props: {
          action: context.query.action,
          error: context.query.error,
        },
      };
    }
    try {
      const { user, session, errors } = await altogic.auth.getAuthGrant(
        context.query.access_token
      );
      if (session) {
        return {
          props: {
            action: context.query.action,
            error: null,
            user: user,
            session: session,
          },
        };
      } else {
        return {
          props: {
            action: context.query.action,
            error: errors.items[0].message,
          },
        };
      }
    } catch (error) {
      return {
        props: {
          action: context.query.action,
          error: error.message,
        },
      };
    }
  } else if (context.query.action === "email-confirm") {
    let response;
    if (context.query.status === "200") {
      //We get the session and the user from the token using getAuthGrant()
      response = await altogic.auth.getAuthGrant(context.query.access_token);
      if (response.user) {
        // Successfully verified the email.
        return {
          props: {
            action: context.query.action,
            error: null,
            user: response.user,
            session: response.session,
          },
        };
      } else {
        return {
          props: {
            action: context.query.action,
            error: response.errors.items[0].message,
          },
        };
      }
    } else {
      //Email couldn't be verified.
      return {
        props: { action: context.query.action, error: context.query.error },
      };
    }
  } else {
    return { props: {} };
  }
}

export default AuthRedirect;
What happens if we click on the link again?
Magic links are one-time links. If users click on the link a second time or after it expires, they get an error. This feature makes the magic link authentication method more secure.

As we can see from the URL, the access token is already used or invalid.
💡 You can directly insert the error message from the link for convenience.
Conclusion
This article added the magic link authentication method to our email authentication app using Next.js and Altogic Client Library. Thanks to Altogic, we can build this functionality with just a few lines of code.
You can check out the GitHub repository for other functionalities and the rest of the code. You can also clone it and build your app on top of it.